OmniLab ATS supports Cuttlefish virtual devices that let you run tests without physical Android devices. Cuttlefish is suitable for testing hardware-independent functions. Before starting to use virtual devices, follow the user guide to install OmniLab ATS.
OmniLab ATS supports virtual devices in two modes, local and remote. The following table provides a comparison of the two modes.
| Local virtual devices | Remote virtual devices |
|---|---|
| Runs on ATS worker hosts | Runs on remote hosts that ATS worker hosts can access through SSH |
| x86-based | Can be x86 or ARM depending on the hosts' architecture |
| Easier to set up | More complicated to set up |
Local and remote virtual devices can be enabled independently. For details on each mode, see:
Set up local virtual devices
This section describes the steps to set up OmniLab ATS for local virtual devices.
Install Cuttlefish dependencies
Run the following command to ensure that the necessary kernel modules are loaded:
sudo modprobe -a kvm tun vhost_net vhost_vsockStart OmniLab ATS with local virtual devices
Before starting OmniLab ATS, make sure all Cuttlefish instances are stopped. OmniLab ATS automatically launches and stops the virtual devices during the test cycle, and existing Cuttlefish instances conflict with instances managed by OmniLab ATS. For details on stopping Cuttlefish instances, see Stop Cuttlefish.
To enable local virtual devices, run:
mtt start --max_local_virtual_devices NN is the maximum number of virtual devices that OmniLab ATS can simultaneously
allocate. The default number is 0.
If the command fails due to missing device nodes, follow the steps in the error message to load the kernel modules. If it continues to fail, reboot the machine.
Set up remote virtual devices
This section describes the steps to set up OmniLab ATS for remote virtual devices.
Install Cuttlefish dependencies
To install Cuttlefish dependencies, follow these steps.
Install the Debian packages on the remote host by following the steps in Cuttlefish > Get started.
Configure the maximum number of virtual devices on the remote host by following these steps:
- Edit
/etc/default/cuttlefish-host-resourceswith root privilege. - Set
num_cvd_accountsto the maximum number of virtual devices to allow on this host. - Run
sudo systemctl restart cuttlefish-host-resources. - Run
ifconfigand verify the number ofcvd-wtap-*interfaces.
- Edit
Create an SSH account
Because the OmniLab ATS host connects to the remote host through SSH, you must prepare an SSH account on the remote host. As OmniLab ATS manipulates the files in the HOME directory, we recommend that you create a dedicated account.
The OmniLab ATS host requires a pair of SSH keys to login to the remote host without a password. The following steps describe how to set up the SSH keys:
- To generate a private key and a public key, run
ssh-keygenon the OmniLab ATS host. - Upload and append the public key to
~/.ssh/authorized_keyson the remote host.
If your SSH account is different from the one used for installing Cuttlefish dependencies, to allow the SSH account to launch Cuttlefish, run this command on the remote host:
sudo usermod -aG kvm,cvdnetwork,render $USERStart OmniLab ATS with remote virtual devices
Before starting OmniLab ATS, make sure all Cuttlefish instances are stopped. OmniLab ATS automatically launches and stops the virtual devices during the test cycle, and existing Cuttlefish instances conflict with instances managed by OmniLab ATS. For details on stopping Cuttlefish instances, see Stop Cuttlefish.
For better performance, we recommend setting up the OmniLab ATS host and the remote host in a local area network.
To enable remote virtual devices, run this command on the OmniLab ATS host:
mtt start --remote_virtual_devices USER@HOST/N \
--remote_ssh_key KEY
USER is the SSH account name.
HOST is the IPv4 address of the remote host.
N is the maximum number of virtual devices that OmniLab ATS can simultaneously
allocate.
KEY is the path to the private SSH key on the OmniLab ATS host.
The command tests the connection to the remote host before starting OmniLab ATS.
If it shows a warning message such as
The specified --remote_virtual_devices and --remote_ssh_key are invalid.
on the console, you should check your SSH setup.
To avoid resource conflicts, an OmniLab ATS host can connect to at most one remote host. Multiple OmniLab ATS hosts can't connect to one remote host at the same time.
Run a test with virtual devices
This section describes the steps to run a test on local or remote virtual devices.
Select devices
On the device list, OmniLab ATS displays virtual devices as placeholders instead of their actual serial numbers. The placeholders are shown in the format of HOSTNAME:local-virtual-device-ID for local virtual devices; remote-virtual-ADDRESS-ID for remote virtual devices. The states are either Available or Allocated. A placeholder in the Available state indicates that the virtual device is not running and can be allocated for the test.
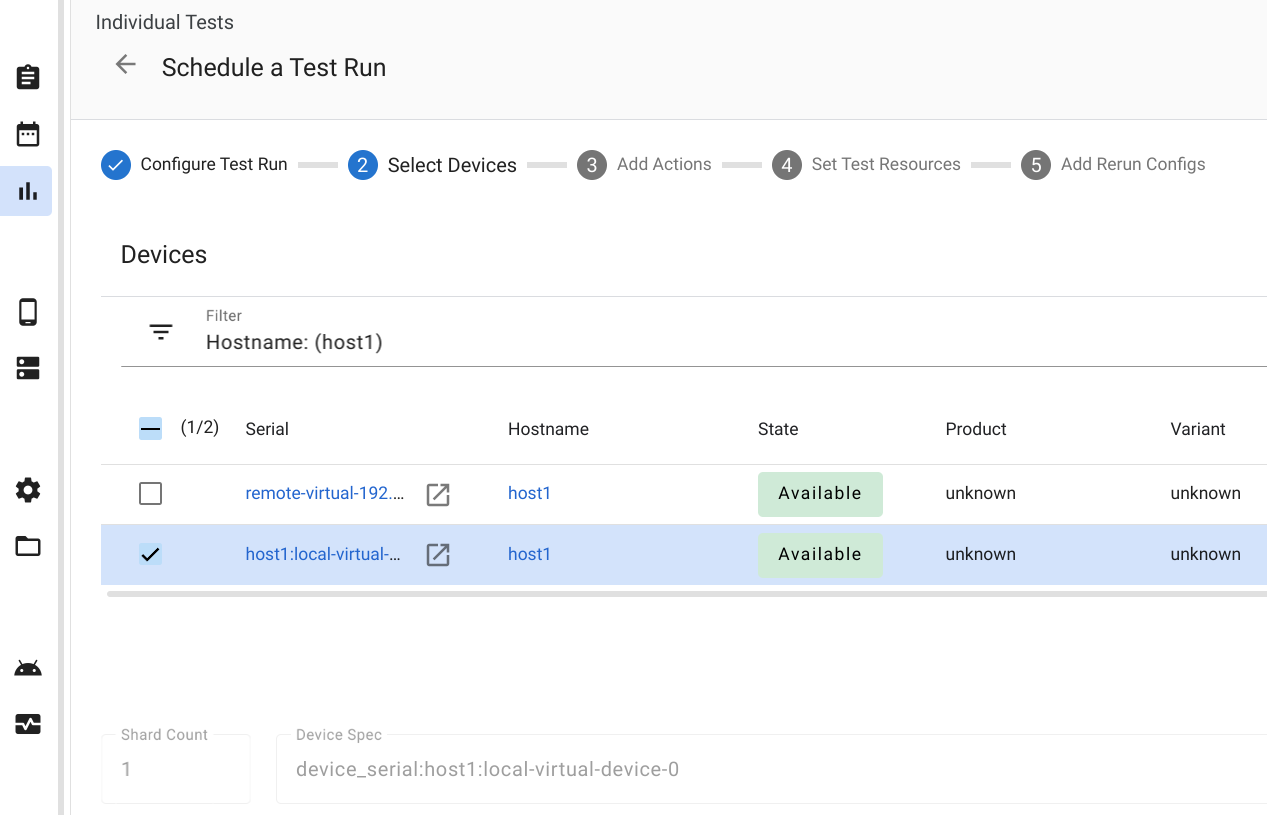
Figure 1. Selecting virtual devices
Add device actions
If you select at least one virtual device, the associated device action should be added to the list automatically. The action consists of the required TradeFed parameters and test resources to create virtual devices.
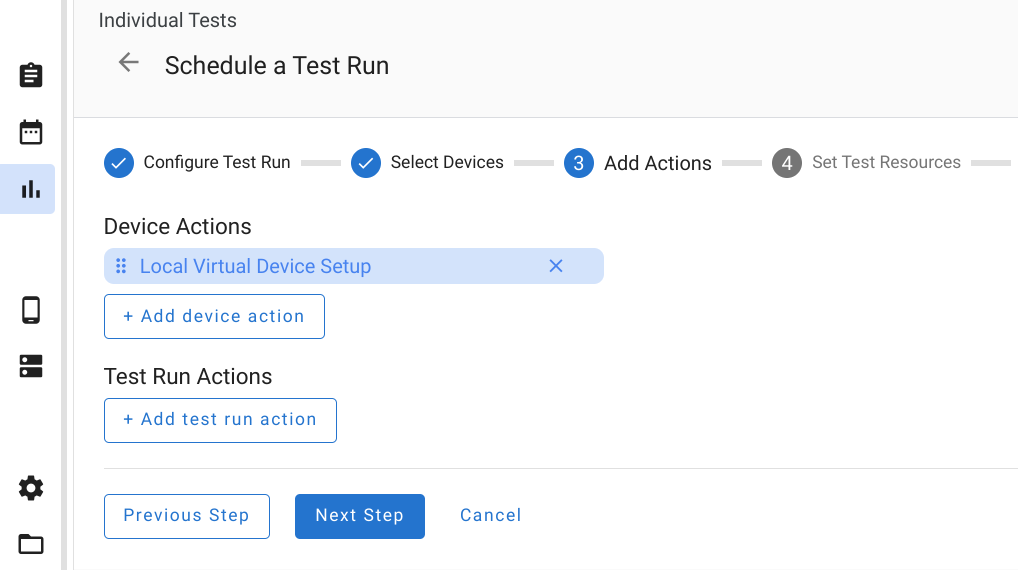
Figure 2. Device actions for local virtual devices
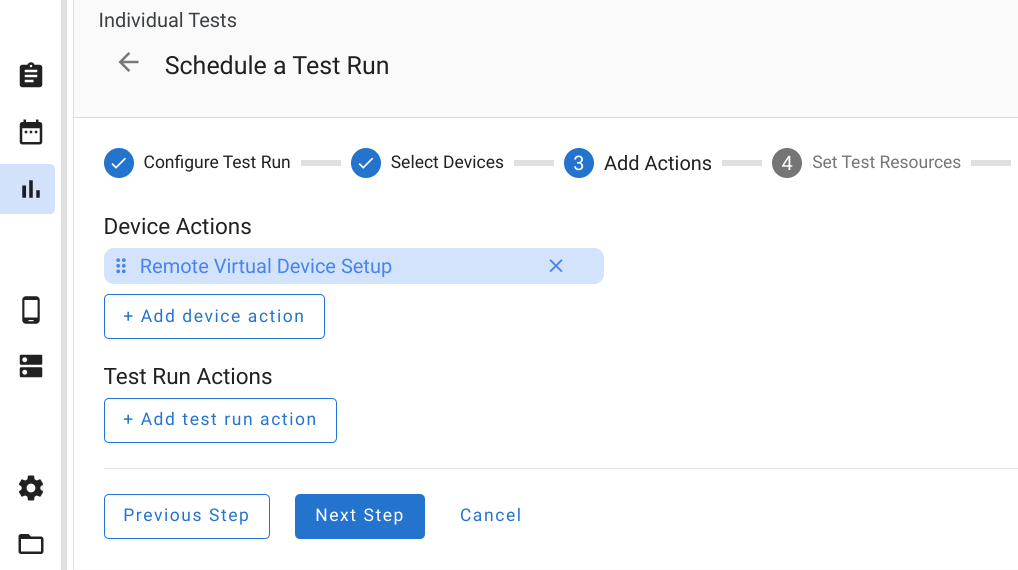
Figure 3. Device actions for remote virtual devices
Set test resources
Cuttlefish virtual devices require three test resources, the virtual machine
tools, the images, and
Acloud.
In a typical Cuttlefish build (for example,
aosp_cf_x86_64_only_phone-userdebug on
ci.android.com
), the virtual machine tools are packed in cvd-host_package.tar.gz, and
the images are in aosp_cf_x86_64_only_phone-img-*.zip. The Acloud binary is
built in OmniLab ATS and is compatible with all versions of Cuttlefish. The
default download URL of the Acloud binary only needs to be changed for debugging
purposes.
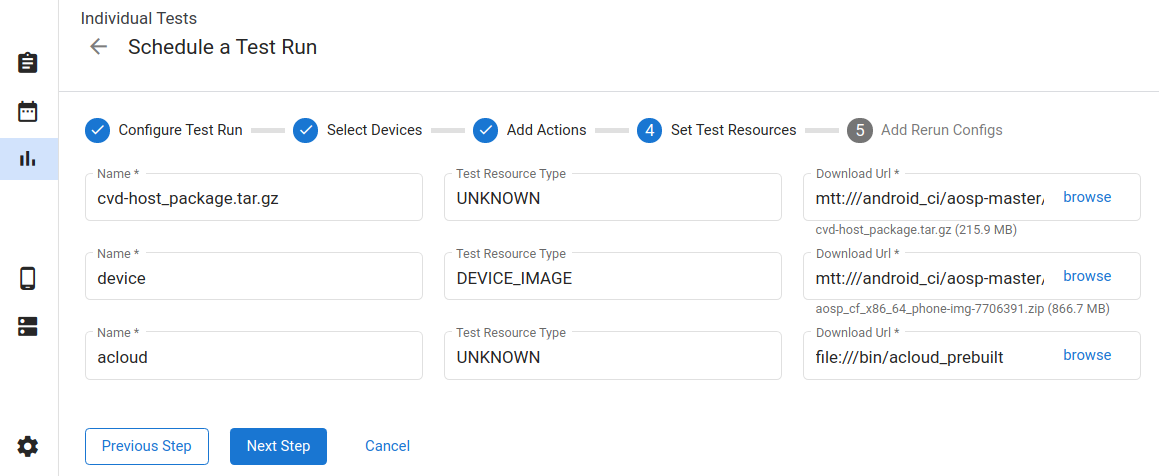
Figure 4. Test resources for virtual devices
View test runs
The device logs, including kernel.log, host_log.txt, and launcher.log are
collected in the output file folder. Click View Output Files to see them.
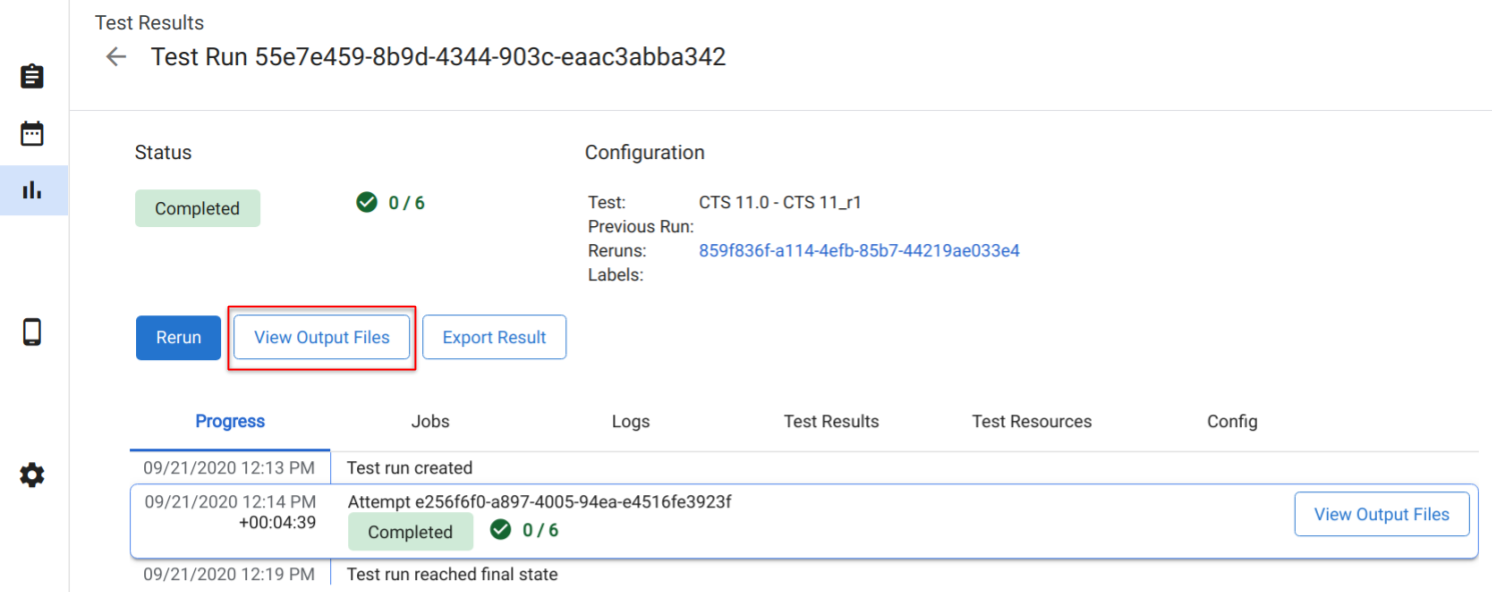
Figure 5. Test run results
